
When you’re a single girl in Vienna you sometimes have to do things on your own, such as building furniture together, decorating your toilet lid, or even pimp your kitchen with some new kitchen tiles or in my case mosaic stones. You probably recognized that I’m a little bit into the color violet, so my kitchen walls are painted in violet as well, that’s why I had to get (finally after three years) violet mosaic stones to use them as splatter guard. And to be honest: IT WAS NO BIG DEAL! I watched some Youtube videos, went to the next DIY market and got started! Girls, you can do that too!
Wenn man ein Single Mädl in Wien ist muss man manchmal Dinge selbst erledigen, wie zum Beispiel Möbel zusammenbauen, den WC Deckel dekorieren, oder sogar die Küche mit neuen Fliesen, oder in meinem Fall Mosaik Steinen, aufpeppen. Wie ihr vermutlich bemerkt habt, habe ich eine Schwäche für die Farbe Lila, daher sind auch meine Küchenwände in lila gestrichen und genau aus diesem Grund wollte ich (endlich nach drei Jahren) violette Mosaik Steine als Spritzschutz besorgen. Und um ehrlich zu sein: ES WAR GAR NICHT SCHWER! Ich habe mir ein paar Youtube videos angesehen, bin zum nächsten Baunmarkt gefahren und habe losgelegt! Mädels, das könnt ihr auch!
What you need / Was ihr benötigt:
- Tiles or mosaic stones / Fliesen oder Mosaik Steine
- masking tape / Malerkrepp
- notched trowel / Zahnspachtel
- tile adhesive / Fliesenkleber
- grout / Fugenmischung
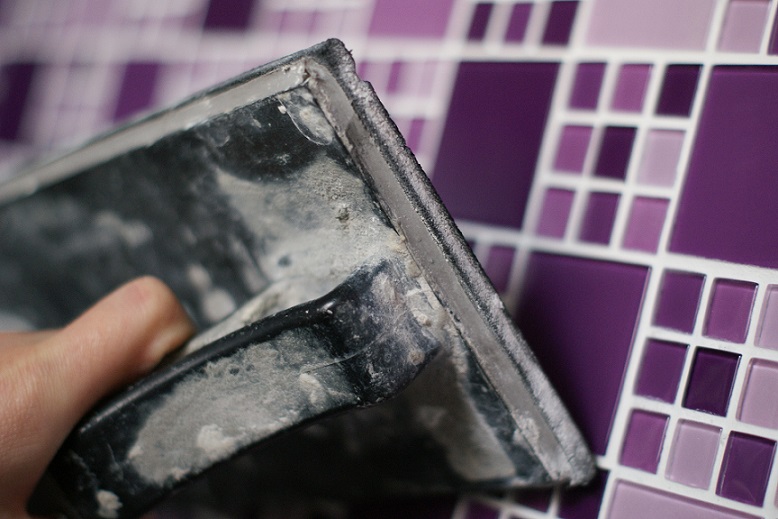
- trowel / Spachtel
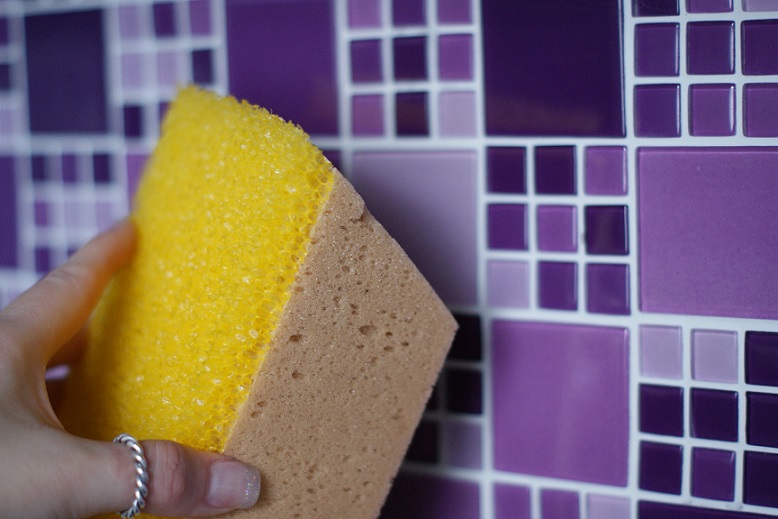
- sponge / Schwamm
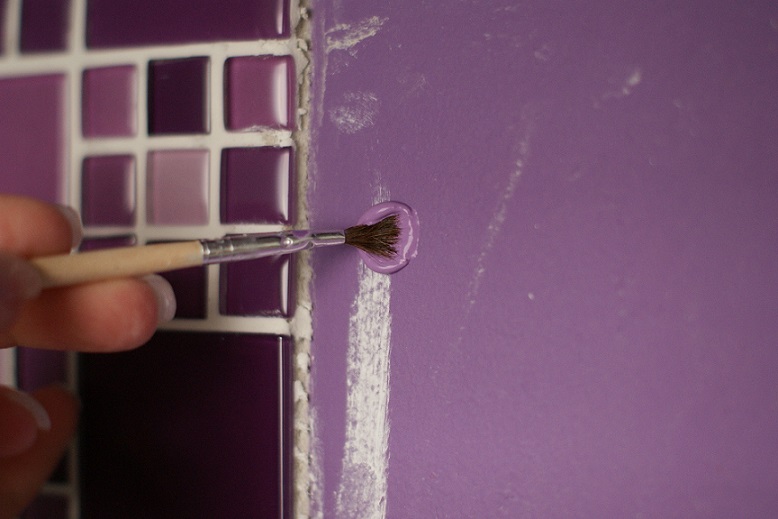
- brush / Pinsel
How to do it / So wird’s gemacht:
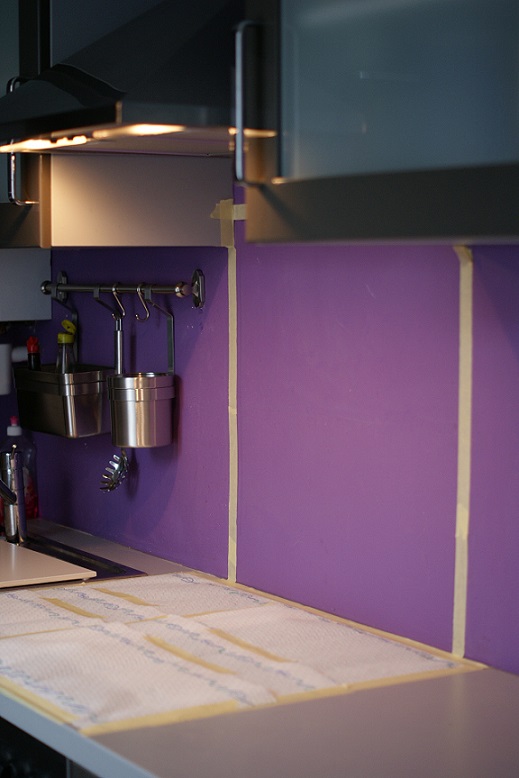
1) At first you should define the area where you want to place your tiles or mosaic stones by taping it with some masking tape, like shown below. I taped my ceramic glass cooktop aswell, because I wnated to protect it from dirt.
1) Zuerst müsst ihr das Areal, in welches ihr eure Fliesen oder Mosaik Steine später platzieren wollt, festlegen und es mit Malerkrepp abkleben, wie unterhalb gezeigt. Ich habe auch noch das Ceranfeld abgeklebt, um es vor Schmutz zu schützen.
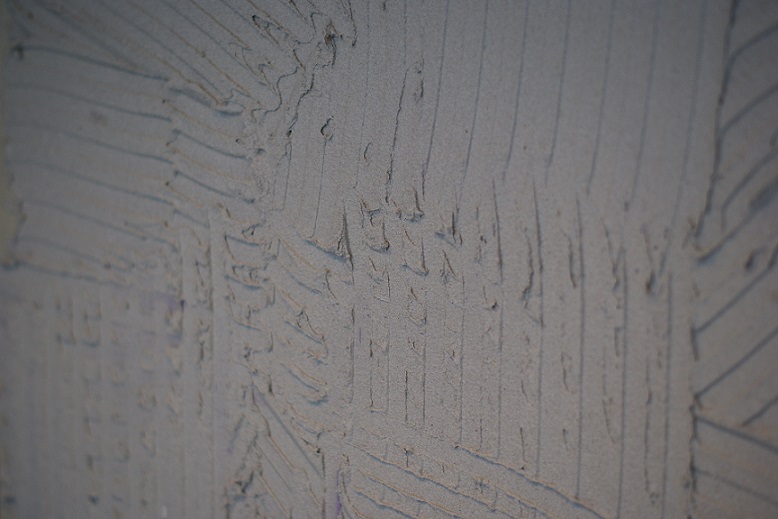
2) Apply the tile adhesive with your notched trowel on the preferred area (ATTENTION: Just apply a thin layer of the tile adhesive to avoid that the tile adhesive comes between the mosaic stones).
2) Tragt nun den Fliesenkleber mit eurer Zahnspachtel auf das ausgewähle Areal auf (ACHTUNG: Tragt nur eine dünne Schicht des Fliesenklebers auf um zu vermeiden, dass er später zwischen den Mosaik Steinen durch kommt).
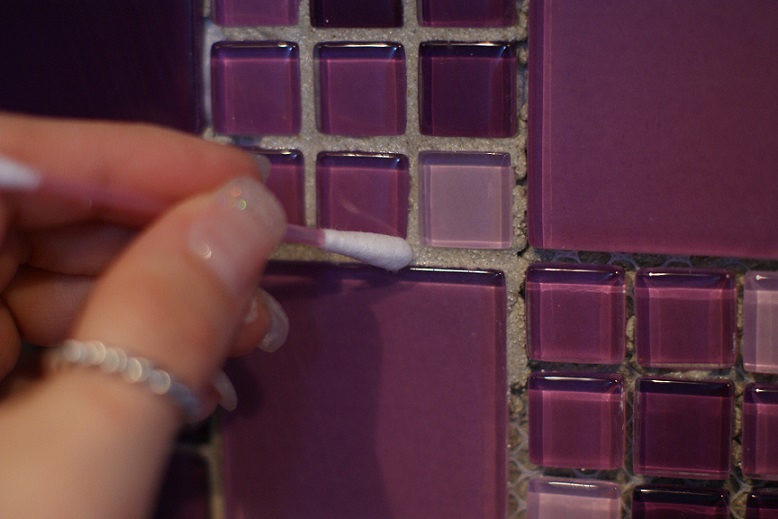
3) Press the tiles, or mosaic stones onto the tile adhesive (don’t worry, they won’t fall off the wall – that’s what I tought :))
3) Drückt die Fliesen oder Mosaik Steine auf den Fliesenkleber (keine Angst, sie fallen nicht wieder runter, das habe ich nämlihc geglaubt :))